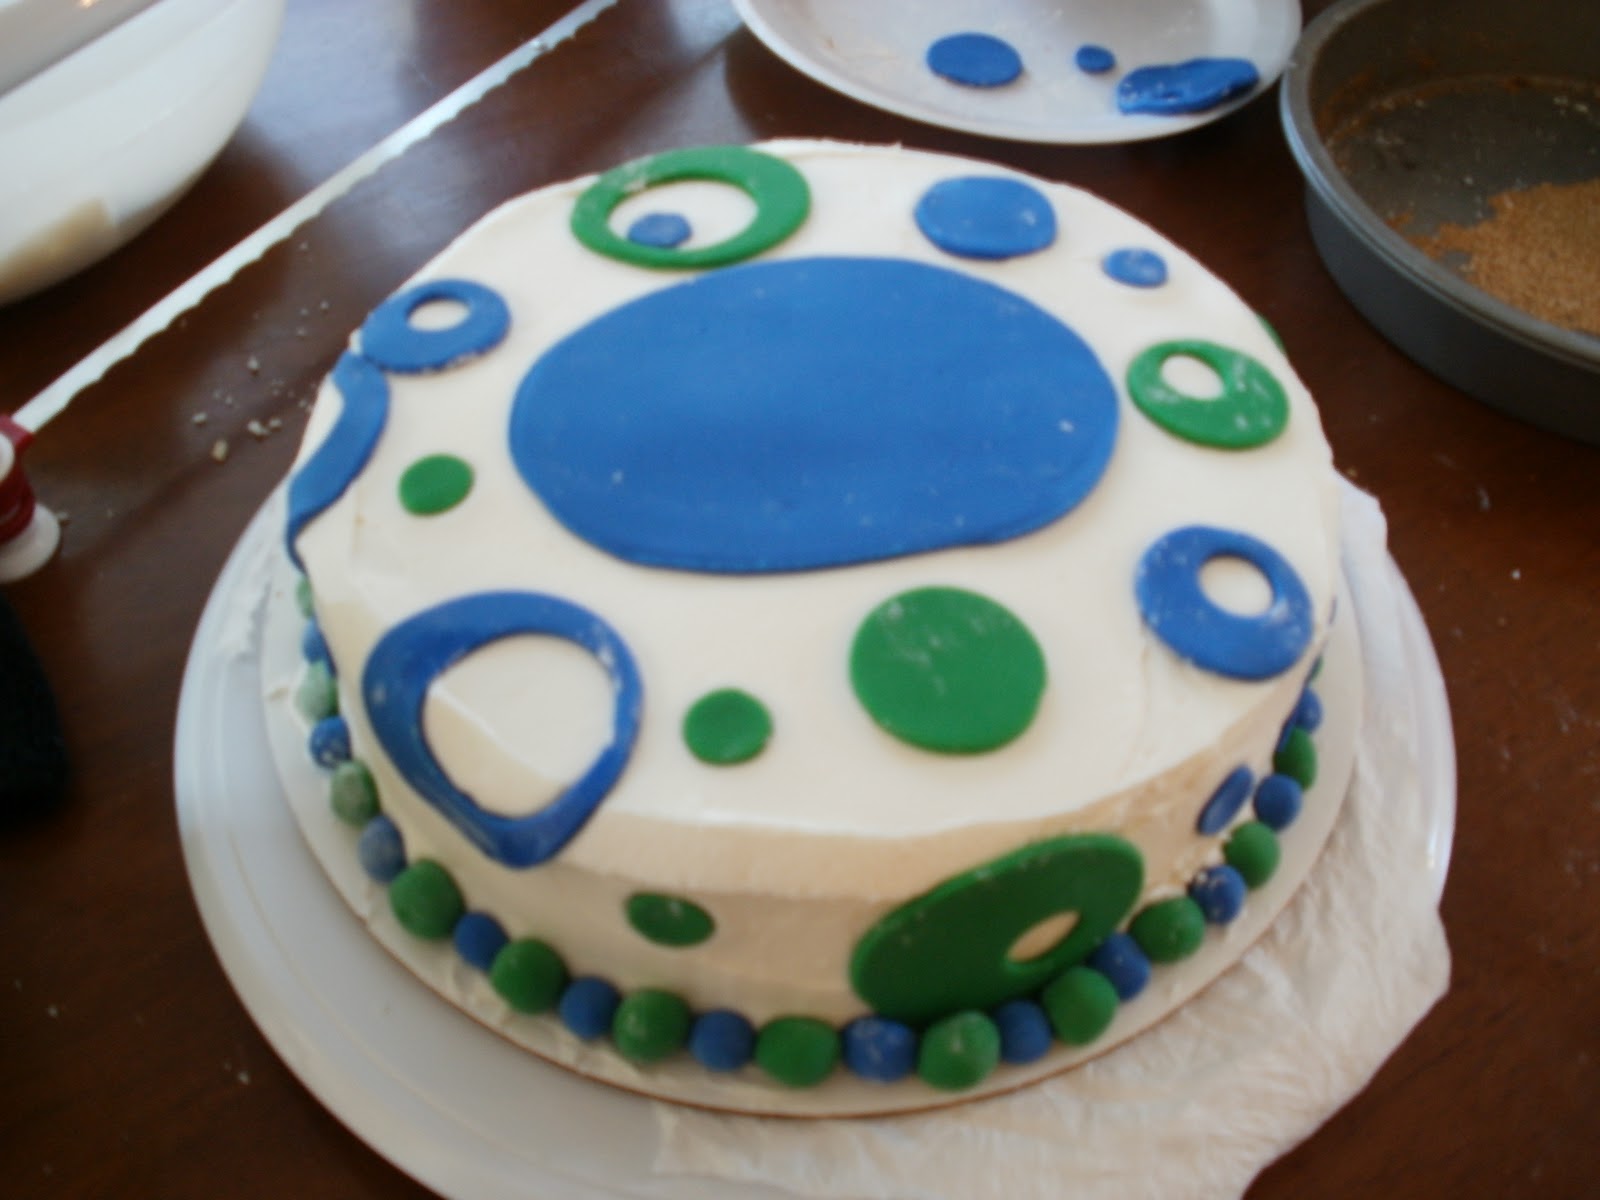


This wonderful Christmas weekend was spent cooking, spending time with my family, and eating. And eating. And eating. I also got the opportunity to make a cake for one of the lovely ladies I work with - it was her daughter's birthday the day after Christmas. And although I love making and decorating cakes, the part that gets me the most worked up is making the icing smooth to give it a polished and clean look.
Making the icing smooth on the cake is NOT "a piece of cake"...that is until I learned a new way to do it - the Viva method.
Of course by "Viva," I mean the Viva brand paper towels. They are made smooth, without any designs or imprints on them.
What you need:
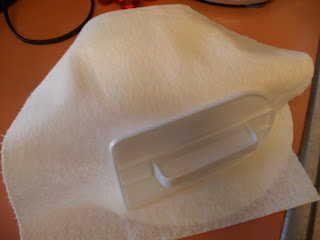
1 roll Viva paper towels
1 fondant smoother
An iced cake
How to do it:
Once you crumb coat and ice your cake, put it in the refrigerator for at least 30 - 45 minutes, or until the icing is beginning to set up and create a crust on the outside.

Next, take out the cake with the hardened icing and place a Viva paper towel on top. With gentle pressure, begin smoothing the top and sides of the cake (I usually do it in circular motions, but I don't think there is any science to it).
 Once you have worked over the entire cake with the paper towel and fondant smoother, you will have an evenly smooth iced cake!
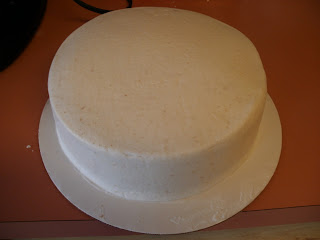
This method has just made my life so much easier and I'm glad I'm no longer spending hours just trying to get the icing to look "clean"!! Hope this tip can help someone out there.
Continue reading...
Making the icing smooth on the cake is NOT "a piece of cake"...that is until I learned a new way to do it - the Viva method.
Of course by "Viva," I mean the Viva brand paper towels. They are made smooth, without any designs or imprints on them.
What you need:
1 roll Viva paper towels
1 fondant smoother
An iced cake
How to do it:
Once you crumb coat and ice your cake, put it in the refrigerator for at least 30 - 45 minutes, or until the icing is beginning to set up and create a crust on the outside.

Next, take out the cake with the hardened icing and place a Viva paper towel on top. With gentle pressure, begin smoothing the top and sides of the cake (I usually do it in circular motions, but I don't think there is any science to it).


This method has just made my life so much easier and I'm glad I'm no longer spending hours just trying to get the icing to look "clean"!! Hope this tip can help someone out there.